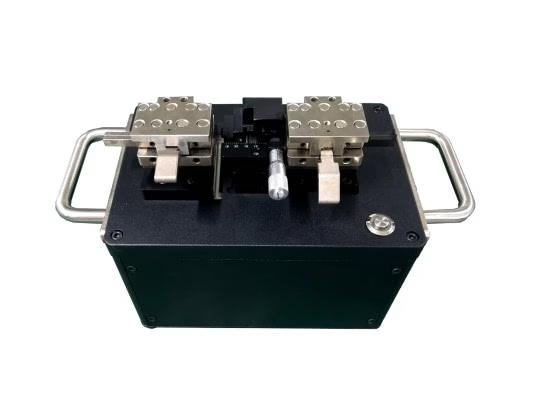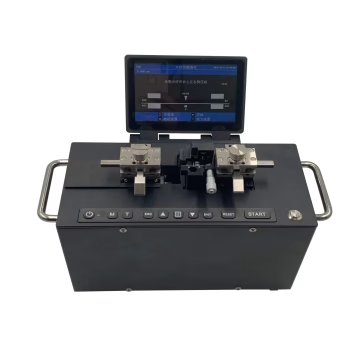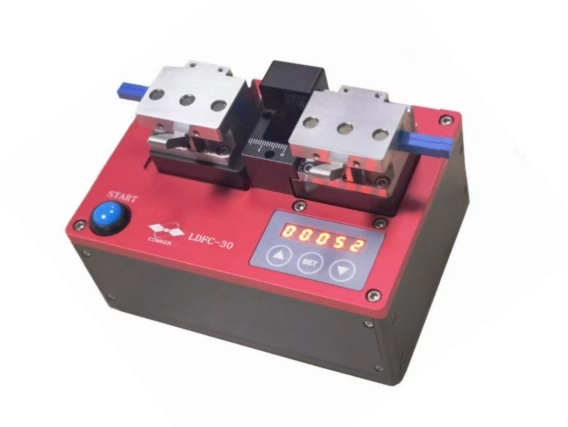
LDFC-30 Large Core Portable Cutter
Get Instant QuoteProduct Details
Safety Precautions
Be careful
If you use a diamond blade to cut the fiber coating, the blade may be damaged; make sure to remove the coating of the fiber you want to cut and clean the stripped part before the blade directly contacts the bare fiber.
Be careful
When cutting begins, the blade will first move quickly toward the fiber. At this time, the blade cannot directly touch the fiber, but should keep a certain distance from the fiber, and then enter the oscillation process. If it directly touches the fiber, the blade may be damaged.
Be careful
When replacing the upper insert, please make sure that the lower insert has been installed, otherwise the upper insert will be stuck in the card slot of the lower insert.
Warning
During the cutting process, please do not place your fingers on the blade attachment, which may cut your fingers.
Warning
When you work near the blade or handle the blade head, please be careful to prevent the blade from scratching your skin.
Warning
Please be sure to use the original power supply, otherwise the instrument may be damaged.
Warning
Please ensure that the working environment of the instrument is a flat and stable table, the ambient temperature is 5 ~ 50 ℃, and the humidity is not more than 95%.
Warning
Please do not charge this device for a long time. If personnel are not on site for a long time, please disconnect the charging power supply and unplug the charging head.
Parameter settings and function introduction
1. Turn on and off the machine
1.1Press and hold the START button to turn on or off.
1.2The device will automatically shut down after 30 minutes of non-operation to save energy. If you need to use it again, press the START button for 3 seconds to turn it on.
1.3After turning it on, the device will reset to its original point.
1.4When the device is turned off, press the START button once to display the current remaining power.
2. Parameter setting instructions
2.1 In standby mode, long press the SET button to enter the setting menu.
2.2 The initial position of the blade cutting is currently displayed, such as: CL190, which means the initial distance of the blade from the fiber to start cutting. The initial position can be adjusted manually.
2.3 Click the SET button again to display the CAL interface, which can automatically calibrate the cutting position. 2.4 Click the SET button again to display the current cumulative number of cuts.
2.5 Click the SET button again to display 0, and then you can enter the function of changing the knife position and blade. 2.6 Click the SET button twice again to exit the setting menu.
2.7 Click the SET button in the standby interface to display the remaining power, and click again to exit.
3. Cutting steps
3.1 Adjust the tension required for cutting the optical fiber. For the recommended tension value, see 7. Recommended tension.
3.2 Install the optical fiber inserts corresponding to the cut optical fiber.
3.3 Open the upper covers of the left and right optical fiber clamping assemblies.
3.4 Wipe the stripped optical fiber with alcohol and install it in the optical fiber insert. First close the left clamping cover and lift the lever, then close the right clamping cover and lift the lever. The length of the bare optical fiber on the right side should be greater than 10mm to prevent the clamping distance from being too short and causing slipping.
3.5 Press the START button to start cutting.
★ In the setting menu, the cutting function is invalid.
3.6 Open the left clamping cover, remove the cut optical fiber, and then open the right clamping cover. At this time, the device will automatically reset and prepare for the next cutting.
4. Manual/automatic calibration of tool position
4.1 Press and hold the SET button to enter the setup menu. When SL*** (value) is displayed, it indicates the manual calibration function. At this time, you can press the up and down keys to adjust the value. The larger the value, the closer the blade is to the optical fiber.
4.2 Press the SET button again. When CAL is displayed, it indicates the automatic calibration mode. At this time, install the corresponding optical fiber and close the left and right optical fiber clamping covers. Press the START button, and the device will automatically find and save the optimal initial cutting position.
★Wrong tension may cause calibration failure, and in severe cases, it may damage the cutting blade.
5. Reset cutting count
5.1 In the automatic calibration interface, click the SET button again to display the current number of cutting times.
At this time, long press the key to reset the accumulated data.
6.1 Blade replacement: Click the SET button again on the cutting count interface. At this time, 0 is displayed, indicating the function of tool position replacement or adjustment.
6.2 Click the up button, the cutter head automatically moves to the replacement position, loosen the blade fixing screw with the provided hexagonal wrench, remove the old blade with tweezers or fingers, and install the new blade, and then tighten the fixing screw.
★ Be careful not to drop the blade into the equipment when installing or removing it. The new blade needs to be installed vertically for the first time and wiped clean with alcohol.
6.2 Tool position adjustment: Loosen the tool holder fixing screw.
★ Just loosen the screw, do not completely unscrew it.
6.3 Adjust the tool position screw, adjust it clockwise, and counterclockwise. It is recommended to rotate 1/4 each time. 6.4 Lock the tool holder fixing screw and click the down button to exit the adjustment mode.
7.Recommended Tension

8.Cutting action